Setup Guide for the Bird Buddy
We are incredibly excited to assist you in setting up your Watch below how to charge the Bird Buddy
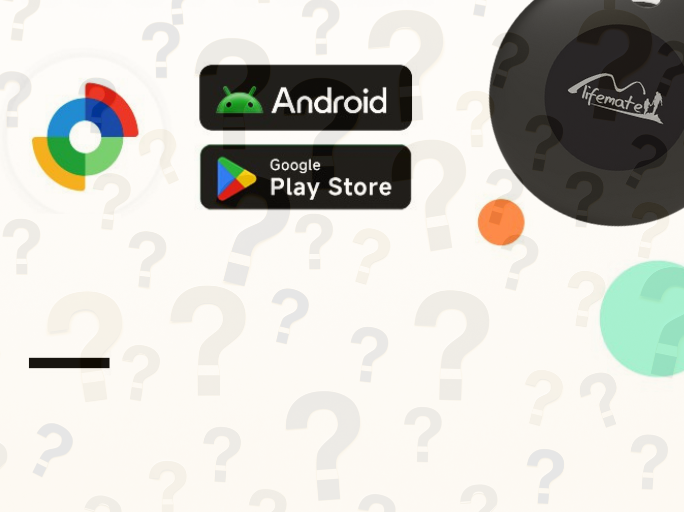
Step 2: Download the App
If you haven't already, download the Bird Buddy: Smart Bird Feeder app from your app store, or scan the QR code provided in the box for a quicker download.
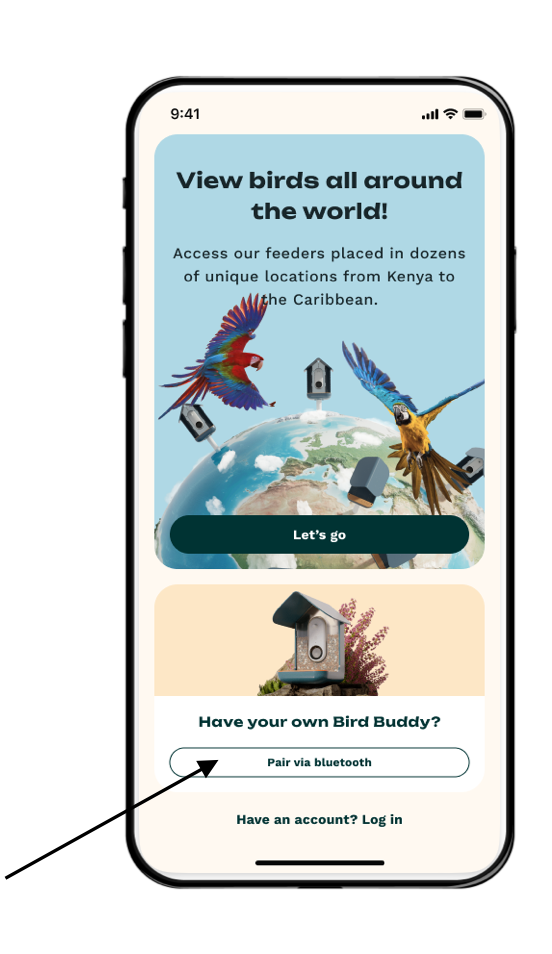
Step 3: Pair Your Camera Module via Bluetooth and Create an Account
Now you'll want to pair your camera module with the app on your mobile device via Bluetooth and connect it to your Wi-Fi network. Please note that the initial pairing is done entirely through the Bird Buddy app and not directly through the Bluetooth settings on your mobile device.
- If you have your own Bird Buddy device, select the "Pair via Bluetooth" option. Before proceeding to pair your camera or collect postcards via Explore, you'll need to set up an account if you haven't already. You have the option to create a unique Bird Buddy account with your email address (tap the Create Account button at the bottom of the screen), or for convenience, you can use available third-party login options (Apple, Google, and Facebook, depending on your device) to create an account.
 Remember how you created your account; the next time you log in, you'll need to choose the correct option: the "Log In" option is for unique Bird Buddy accounts, and the "Continue with" option is for third-party logins.
- Once you're logged in, the app will guide you through the Bluetooth and Wi-Fi pairing process (you can also always access the pairing process by clicking on "Add a Bird Buddy" in Settings, if you're adding a second camera or if you want to proceed later).
- Once the camera module is connected to the internet, it uses that connection to send photos and videos to your mobile device. So, check your Wi-Fi settings and let the app guide you through the steps. For more guidance, you can watch the pairing video above or read through our step-by-step pairing guide.
- On certain devices, the Bluetooth setting may prompt you to enter a pairing code; this is not necessary, so you can simply click "Pair". The Bluetooth connection is only necessary for the initial exchange of information, and you can disable Bluetooth on your mobile device once your Bird Buddy is safely connected to your Wi-Fi network.
Step 4: Firmware Update
After the Wi-Fi pairing is completed, the pairing process will automatically redirect you to perform a firmware update for the camera module (which is different from software updates for the app). This step will be automatically skipped if the firmware is already up-to-date.
Step 5: Place the Camera in the Housing and Take it Outside
Once the camera module is paired and updated, you can place the camera in the feeder location. The app will help you find a spot with a good internet signal so that your live stream connection is strong when you mount your feeder outside. You can test the live stream in the Feeder Settings to see if you're satisfied with the view.
Watch below how to assemble the Bird Buddy
Step 6: Fill Your Feeder!
Fill your feeder with seeds. There are plenty of different types of seeds you can use, but we also have some recommendations you can check out.
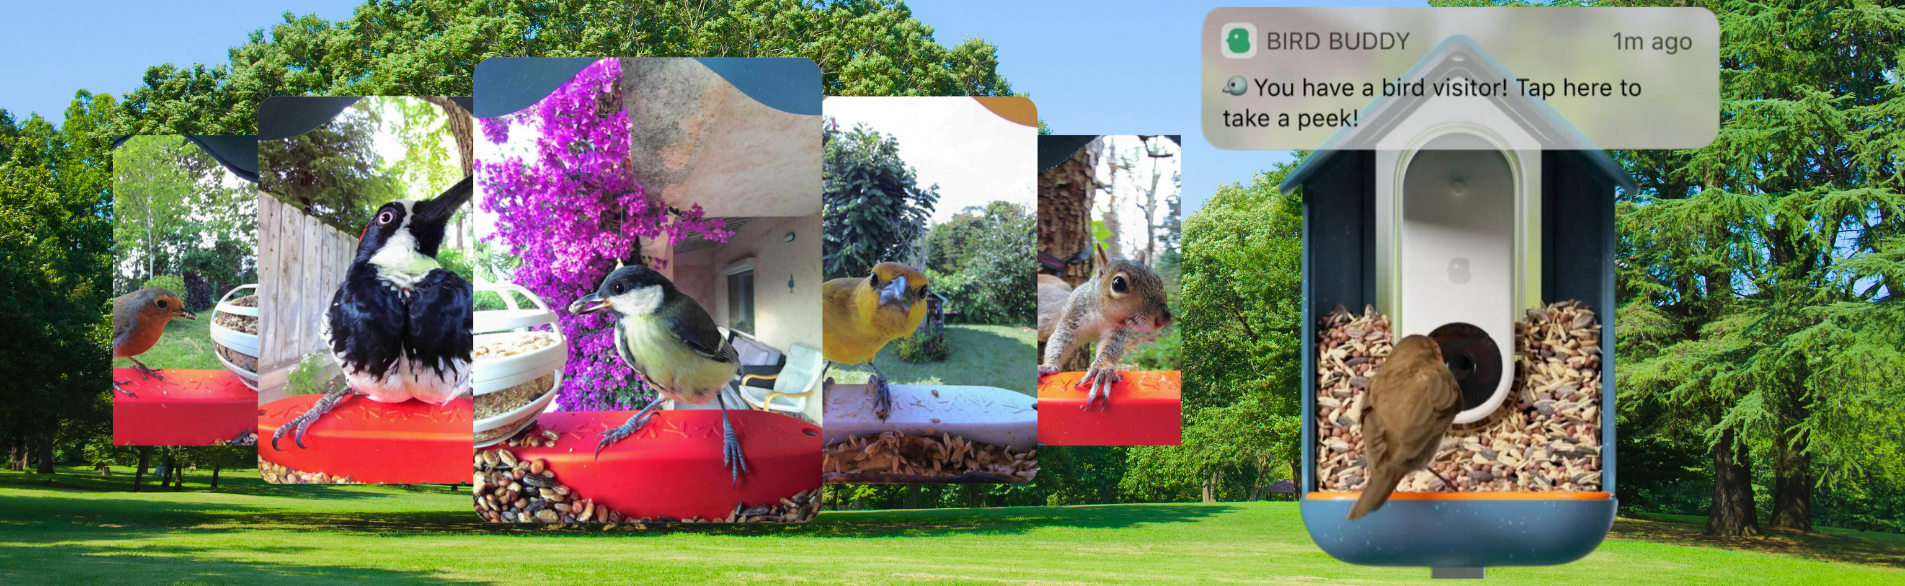
Step 7: Feeding Time!
Now it's time to wait for some bird friends to come by! It may take a few days for birds to get used to a new feeder location, so remember to be patient. See below for more information on the postcard collection process!